
Special barriers put in place are known to be the perfect ways to prevent leaking liquids from escaping. CalledSpecial barriers put in place are known to be the perfect ways to prevent leaking liquids from escaping. Called drive over floor bunding, this containment device has been manufactured to endure vehicle traffic without losing its capability to contain spillage., this containment device has been manufactured to endure vehicle traffic without losing its capability to contain spillage.
That being said, such a protection system is ideal for installation in loading areas, warehouses, doorways, vehicle parking and places where secondary spills could happen by accident and prevention is needed.
In addition, there’s another type of containment method made with a rigid rubber type bund that’s usually seen at entry and exit ramps. Vehicles going in and out of the containment areas experience a smooth transition while being free from the so-called ‘bump factor’.
In order to achieve the total functionality of a drive over floor bunding, the device has to be correctly mounted by a certified installer. Otherwise, you would not be able to maintain its full serviceability. Still, if you’re interested to know how the bunding is put up in the right way, here are the steps as suggested by the professionals.
To Make the Drive Over Floor Bunding Fully Operational
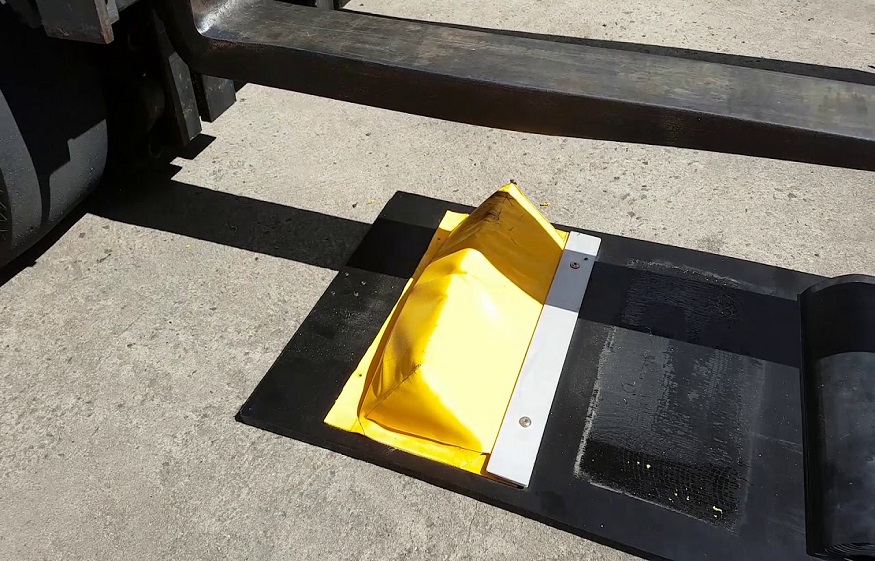
- Let the bunding stand under the sun until it becomes soft. This can make shaping of the material easier.
- Do a pre-drilling on the rubber bunding initially with a 25mm drill bit to a depth of 10-15mm.
- Drill a second hole around 10mm wide through the depth of the bunding.
- Put markings on the whole containment area, then make the necessary cuts and corners.
- With a 10mm masonry bit, drill into the floor with the existing holes in the bunding serving as your template.
- Spread adhesive then insert the dynabolts as you proceed but refrain from over-tightening them.
- If the entire process has been completed, you need to wait for around 24 hours before letting any vehicle pass through.
Tools for Rubber Bunding Installation
Check the system from time to time as you may need to do some re-sealing. To maintain your bunding totally functioning as expected, always keep the entire area free from contamination of any kind. Therefore, regular cleaning of the area is a must.
If you want to, you can assemble your own device but only if you’ve got the time and the proper tools. Here are the tools needed when installing rubber bunding – masonry drill with bits of 10mm, spade bits of 10mm and 25mm for rubber, masonry adhesive, stainless steel dynabolt washers, air blower, tape measure, hand saw, miter box, 10mm socket and chalk for marking.
When installing rubber floor bunding, remember to use only masonry fasteners together with masonry adhesive to make sure that the containment is watertight. Choose any appropriate masonry adhesive but experts recommend the use of Sika Flex or Fullers adhesive 303 product for a foolproof job.